Conditioning of Wooden Cutting Boards
Cleaning after using
Let’s talk about how to care for wood cutting boards, spiced up with a dash of kitchen wisdom! The first golden rule is that wooden cutting boards should always be cleaned by hand under running water, and I’ll gladly repeat it:
never put them in the dishwasher.
Also, soaking them in a sink full of water is a NO-GO, as it can cause warping or even cracking.
If you can’t clean your board immediately after meal preparation, don’t worry. Just leave it on your countertop until you find the time. In some situations, you might not even need to wash it. For instance, if you’ve only sliced bread, you can simply sweep away the crumbs or wipe the surface with a damp cloth or kitchen towel.
When a more thorough cleaning is necessary, start by gently removing stubborn food residue. For dried-on spots, a brief soak in water can be helpful. Now your board is ready for a little spa day. Give it a massage with mild, neutral dish soap by rubbing it with the soft side of a sponge under gentle running water. Rinse it as if you’re washing the stress away.
Finally, dry the board thoroughly with a clean kitchen towel or paper towels and stand it upright to allow it to air dry completely. Your wooden cutting board will thank you and be ready for its next culinary adventure!
What you need:
- Soft Sponge
- Mild Neutral Dish Soap & Water
- Paper or Towel
Removing unpleasant odor
Sure, you want a cutting board that not only provides a stable and durable surface for slicing but also doesn’t absorb unpleasant odors from the food you prepare. Odors tend to develop in areas where liquids can penetrate the wood’s pores. So, it’s already clear which factors can improve the odor neutrality of the cutting board.
A good choice is hardwood, as it has a tight grain structure and lower porosity, meaning it absorbs fewer odors. However, even with hardwood, regular cleaning and maintenance are crucial. This includes periodic treatment with the right oil or wax.
Another helpful measure is using separate cutting boards for specific foods like onions, garlic or fish. If unpleasant odors still occur, you can follow these steps:
- Thoroughly moisten the cutting board with water.
- Sprinkle a generous amount of salt on the cutting surface.
- Rub the salt in with a halved lemon.
- Let it sit briefly, then rinse the board thoroughly with water.
- Allow the cutting board to dry thoroughly.

What you need:
- Soft Sponge
- Mild Neutral Dish Soap & Water
- Salt & Halved Lemon
- Paper or Towel
Oiling and waxing your board
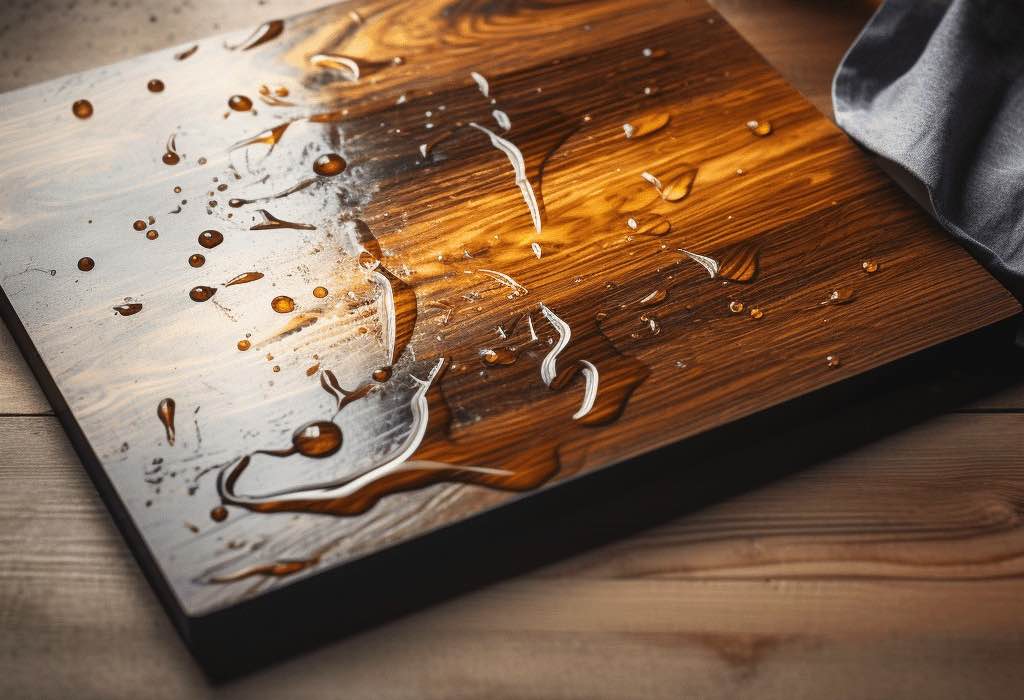
Over time, frequent washing can cause the wood to dry out, which is a completely natural process. You can identify this when the surface loses its shine and starts to feel drier and rougher. Now is the time to give your cutting board a revitalizing boost and get it ready for the weeks ahead.
Based on my experience, I’ve found the following guide to deliver the best results. Product choice is crucial. You can find more information on oils and wax products in the “Suppliers” section.
I recommend using high-quality, natural and food-safe products. While they might be a bit pricier, they are healthier for both you and your cutting board.
It’s a good practice to subject your cutting board to a thorough cleaning and drying process every 2-3 weeks. Afterward, you can treat it with a natural wax of your choice, allowing it to penetrate and then polishing it. You’ll be amazed at how your cutting board will regain its shine and feel like new.
The fresh protective layer will safeguard the board for the weeks to come and seal all the cut marks securely. For this purpose, I recommend using RENUWELL WOODBUTTER®, as it protects against moisture and dryness, refreshes and nourishes the wood surface, and is made from 100% natural ingredients.
Here’s the detailed guide:
Applying RENUWELL WOODBUTTER® – Approximately every 2-3 weeks:
– Clean the wood surface and ensure it’s thoroughly dry.
– Apply RENUWELL WOODBUTTER® thinly and in the direction of the grain using a lint-free cloth.
– Polish it after 2-3 hours (preferably overnight). Done!
Approximately every 5-6 months or as needed (depending on how frequently you use your wooden board), it’s time for a minor refresh of the wood surface. Essentially, this involves lightly sanding the surface to remove the old protective layer and eliminate small cut marks.
At first glance, it may seem complex, but don’t worry, it’s actually quite straightforward. All you need are sandpapers in grits 120, 180, 240 (or 320), some oil, a brush, wood butter and a cloth or paper. If you have an electric sander on hand, the job becomes a bit quicker and easier.
If you follow the instructions step by step, you’ll be rewarded with a cutting board that feels and looks brand new. And hey, it’s even a great way to hone your craftsmanship skills a bit!
What you need:
- Sander (better electrical)
- Sandpaper Grits 120, 180, 240 (320)
- Water & Paper
- Cutting Board Oil (foodsafe) HOWARD Cutting Board Oil or AURO Arbeitsplattenöl 108
- Cutting Board Wax (foodsafe and natural) RENUWELL WOODBUTTER®
Reviving Worn Cutting Boards
After some time, we’re talking about years here, even with a high-quality cutting board, you may notice that the surface has accumulated some knife marks, grooves or water stains, despite regular maintenance. The previously mentioned care instructions may no longer sufficient.
If your cutting board is thick enough, you can expedite the somewhat elaborate sanding process by running it through a planer that shaves off a few millimeters of thickness, restoring a completely new surface. This will make the cutting board slightly thinner, but it will gain a brand-new surface. After cleaning, you can proceed with oiling and waxing.
However, it’s important to note that this method is considerably more challenging for end-grain cutting boards. End-grain boards are less suitable for a thickness planer as the end-grain side is too hard and using such equipment poses a risk of injury to both the machine and the operator. If you have experience and expertise in such tasks, you might consider trying this approach in very small increments (1/10mm), but I generally advise against it.
Not everyone has access to a thickness planer, so consulting a skilled woodworker may be a helpful alternative.
For those who choose sanding, I recommend using an electric sander based on the wood’s hardness. Start with a 100/120-grit sandpaper and continue until all signs of wear are removed. Be sure to sand evenly to avoid creating depressions where food liquids could accumulate. For the next sanding step, switch to a 150 or 180-grit sandpaper. To identify any remaining surface irregularities, inspect the board from a low angle with sufficient lighting.
Once everything looks good, dampen the surface. As the fibers raise during drying, the surface will feel slightly rougher. Now, sand once more, this time using a 220 or 240-grit sandpaper. Then, thoroughly clean the surface. Finally, you can proceed with oiling and waxing. Keep in mind, while it may require some effort, you’ll also pick up valuable woodworking skills during the process.
End-grain vs. Long-grain Cutting Boards
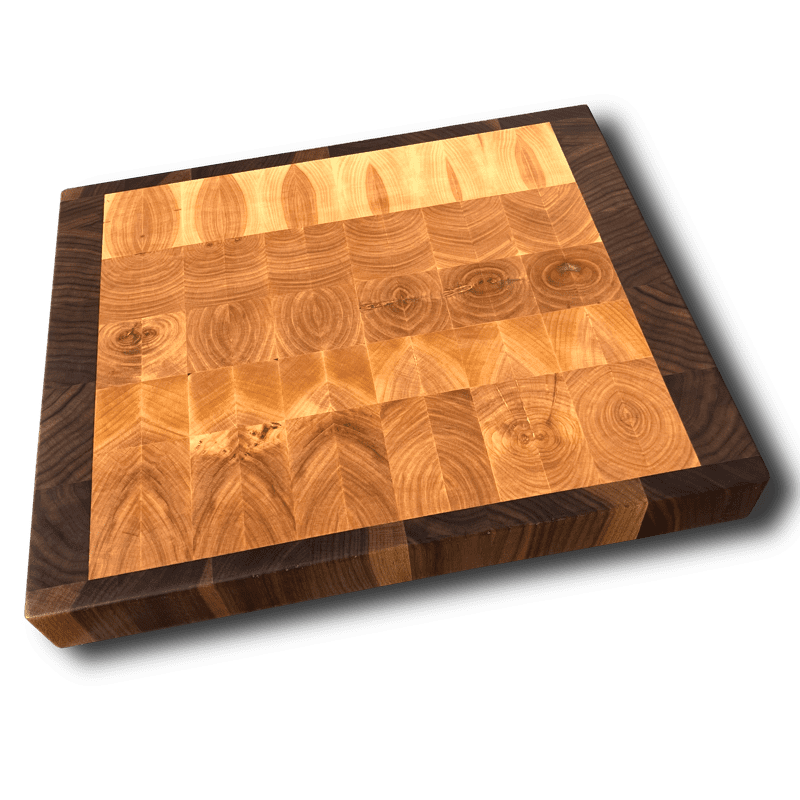
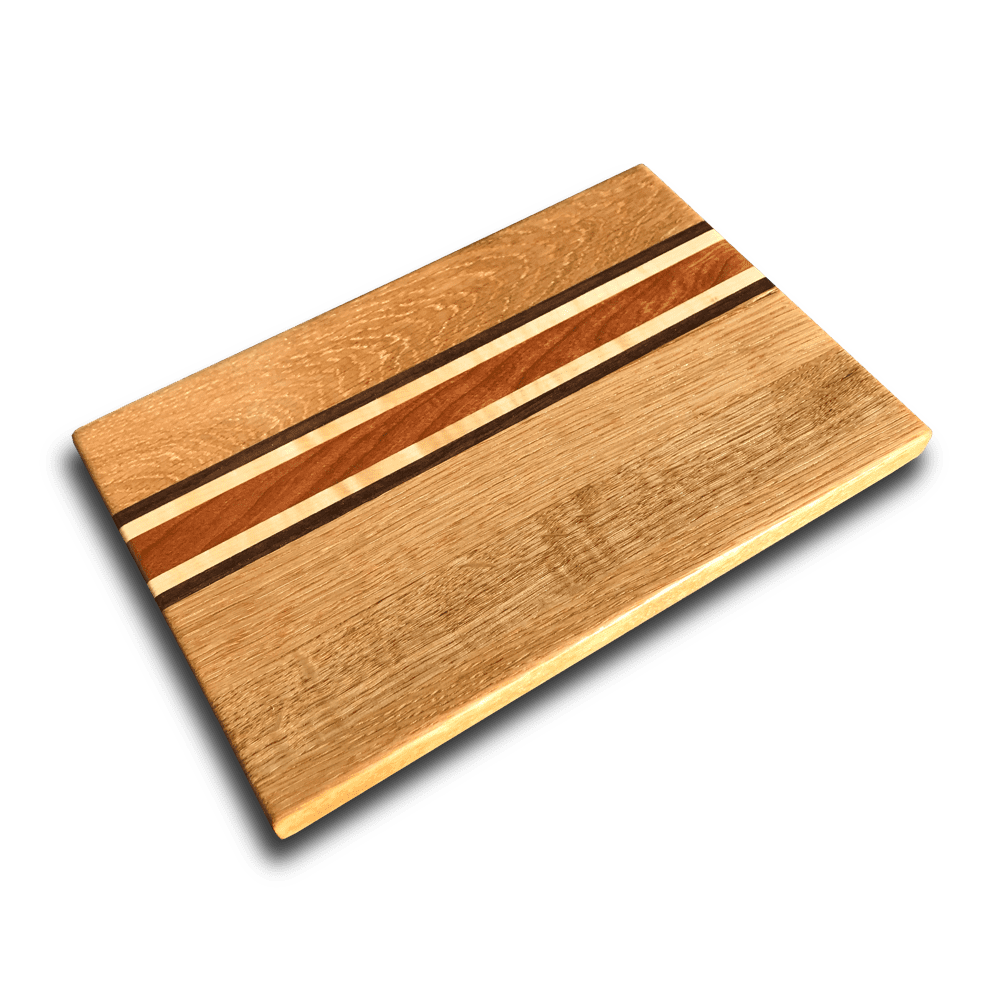
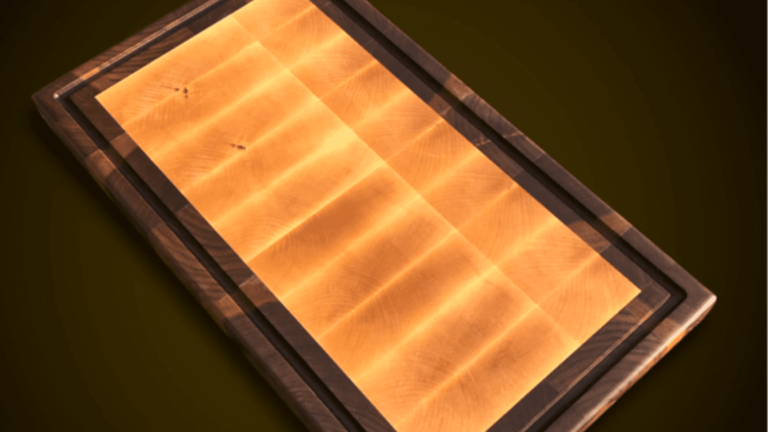
Due to the differences in the surface structure between long-grain and end-grain boards, they behave differently when they come into contact with liquids. The end grain of wood absorbs significantly more liquid much faster, making end-grain boards much more susceptible to moisture. Therefore, the proper surface treatment is the key to success.
Although knives tend to leave fewer marks on end-grain boards, restoring the surface during a renovation is a much more complex process. When applying oil to end-grain boards, it is crucial to ensure an adequate drying time and to apply at least two coats.
Tools You Need
FAQ
How often should I oil and wax my wood cutting board?
The frequency of oiling and waxing your wooden cutting board depends on your individual usage and the type of wood. In general, we recommend doing this every 5-6 months if you use your high-quality cutting board under normal conditions. For cutting boards made from softer woods, shorter intervals may be necessary. However, it’s essential to note that you should assess the maintenance intervals not only based on time but also on the condition of your board. When your cutting board loses its luster, looks dry, or shows small cracks, it’s definitely time to give it a refresh.
Can I use vegetable or olive oil to condition my cutting board?
Yes, you can use natural food-grade oils to condition your wooden cutting board. Oils like olive oil, coconut oil, sunflower oil, or canola oil are options. However, it’s important to note that these oils fall into the category of non-drying or semi-drying oils, as they contain fewer polyunsaturated fatty acids (such as linoleic acid) and won’t fully harden, leaving a slight film on the wood surface that can develop a rancid smell during extended periods of non-use. For better results and less risk of odors, it’s advisable to use drying oils like linseed oil, tung oil, or walnut oil.
What’s the best way to remove tough stains and odors from a wood cutting board?
The best way to remove tough stains and odors from a wood cutting board is to use a combination of baking soda and lemon juice. You can create a paste using baking soda and lemon juice and apply it to the affected area. Allow the paste to sit for a few minutes and then scrub the spot with a brush or sponge. Afterward, rinse it thoroughly and let it dry. Another method is to use coarse salt and lemon juice (see also cleaning after using – section). Sprinkle the salt over the stains, then rub them with half a lemon and rinse the board thoroughly. This helps eliminate both stains and odors. However, remember that after cleaning, you should reapply oil and wax to the cutting board to protect it and extend its lifespan.
Is it safe to wash a wood cutting board in the dishwasher?
In general, it’s not safe to clean a wooden cutting board in the dishwasher. The high temperature and moisture in dishwashers can cause the wood to swell and, at the glued seams, to crack. The resulting tensions in the wood lead to cracks. While the glue may be water-resistant, it’s not heat-resistant. Additionally, the cleaning agents used in dishwashers can leach out the wood (making it lighter) and remove the natural oils from the surface treatment, leaving it drier and more susceptible to damage. To clean a wooden cutting board, it’s best to wash it by hand with warm, soapy water and then rinse it thoroughly. You should also avoid soaking the cutting board in water for an extended period, as this can lead to warping. After washing, let the board air dry upright and occasionally apply mineral oil or a food-safe wood conditioner to keep it in good condition.
How do I repair deep cuts or gouges in my cutting board’s surface?
If your cutting board is thick enough, you can use a planer to smooth the surface until the deep cuts and gouges have disappeared. Afterward, make sure to clean the board and reapply oil. Another option for repairing deep cuts is to sand the surface by hand or, more conveniently, with an electric sander, ensuring even sanding across the entire surface.
Are there any alternatives to sanding for restoring an old and worn cutting board?
If planing is not an option due to the board’s thinness or the cuts and grooves are too deep, look at it as an opportunity for a fresh start. You can simply flip the board and use the other side, especially with snack boards – it’s like giving your cutting board a second chance at life! If that’s not feasible, why not dive into a small DIY project and craft yourself a brand-new cutting board? It can be a fun and creative way to replace an old one. Just imagine, you can create your own unique cutting board – that’s bound to be enjoyable! Checkout my blog!
Conclusion
Absolutely, if you lovingly care for your wooden cutting boards, they’ll reward you with a long lifespan and top-notch kitchen performance. Make sure to hand wash them and treat them to a round of oil and wax at regular intervals – it’s like a spa day for your boards. Quality is the name of the game, so invest in high-quality products and opt for sturdy hardwood or end-grain boards.
If, by any chance, an unwelcome odor creeps in, turn to salt and lemon – the natural odor eliminators. And, please, spare your cutting board from the dishwasher – the combo of heat and moisture can harm them.
Should your board start showing signs of wear and lose its shine over time, no worries, there are ways to bring it back to life. With the right know-how, it’ll soon be gleaming like new. So, give your cutting boards the attention they deserve, and you’ll enjoy true kitchen fidelity for years to come.

