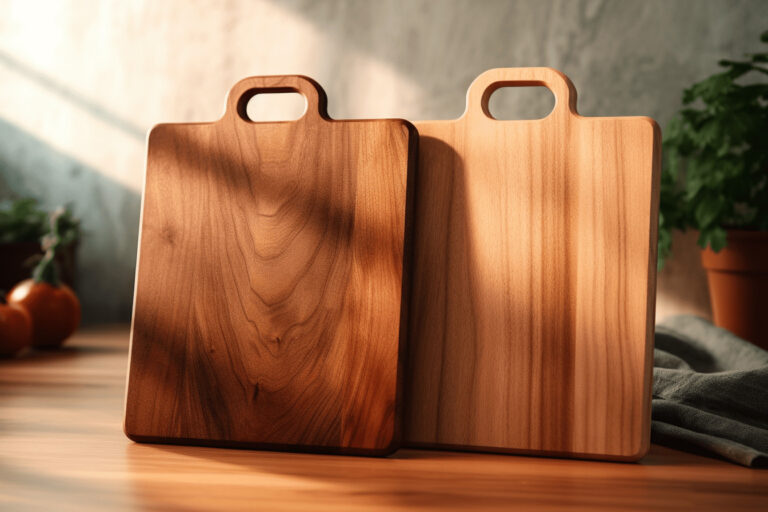
Why is the surface treatment of wooden chopping boards important?
Wooden boards are subject to high demands, especially when it comes to cuts, moisture, odors and cleaning. Adequate surface treatment with suitable wood oil or wax, or a combination of both, is essential.
This treatment not only provides protection down to the top tenth of a millimeter ( about 1-3mm for end grain), but also seals cracks, makes the surface easier to clean and helps to make the wooden chopping board less susceptible to cracking. The result is not only functional, but also gives the cutting board an aesthetic appearance.
Hygiene
Wooden chopping boards are indispensable in the kitchen, but are also subject to heavy mechanical stress due to their intensive use. Natural fluctuations in humidity inevitably lead to cracks, while cutting with sharp knives leaves grooves in the board. End grain cutting boards in particular are very open-pored due to the grain direction of the wood.
These factors create ideal conditions for the accumulation and multiplication of bacteria, especially along incision marks. Although some types of wood have proven antimicrobial properties, only the combination of the right type of wood with a suitable surface treatment offers sufficient protection against unhygienic wooden surfaces.
Durability
Wood that is effectively protected from moisture can achieve an almost unlimited service life. This applies both for use as a building material and in interior fittings. To ensure this, the following measures are crucial:
1. Avoid direct contact with moisture: Untreated wood should not come into direct contact with moisture.
2. Ensure regular and sufficient drying: Regular drying is essential to minimize moisture absorption.
3. Application of surface protection against moisture: A protective coating on the surface of the wood prevents the penetration of moisture.
Points 2 and 3 in particular are essential for wooden chopping boards to ensure durability and hygienic safety.
Aesthetics
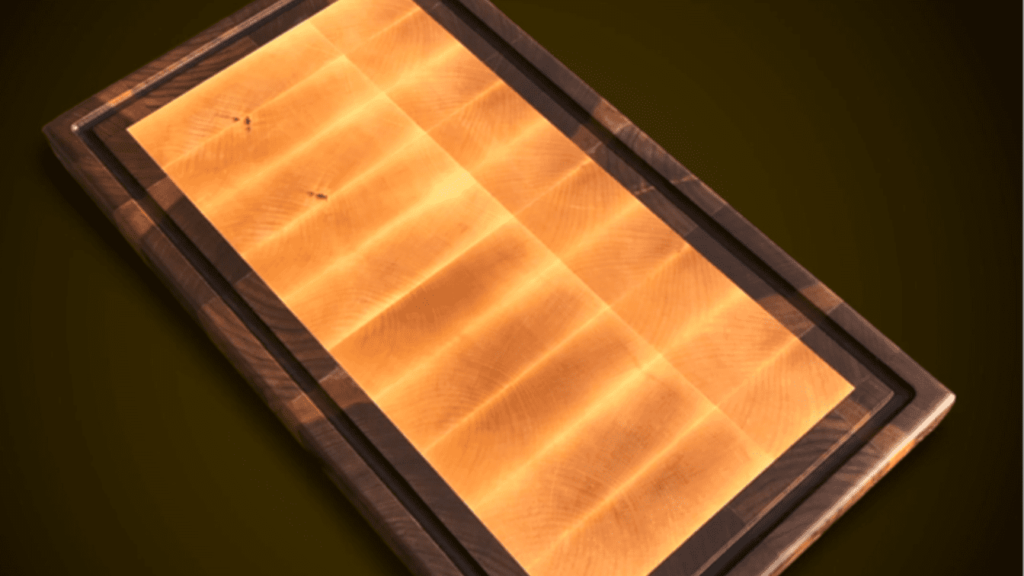
Cutting boards that are well cared for and protected from moisture not only look more attractive, but also reveal their true beauty, especially when it comes to end-grain wooden boards. Anyone who has ever oiled a wooden chopping board themselves will understand the difference.
In most cases, oiling or waxing brings out the grain and grain pattern of the wood in a uniquely contrasting way and gives the surface a remarkable depth of color.
What preparations need to be made
Tools and materials
A number of tools and materials are required for oiling wooden cutting boards. You will need gloves and a face mask for personal protection. In the liquid state and during processing, natural oils can also cause allergic skin reactions (read processing instructions). Self-protection!
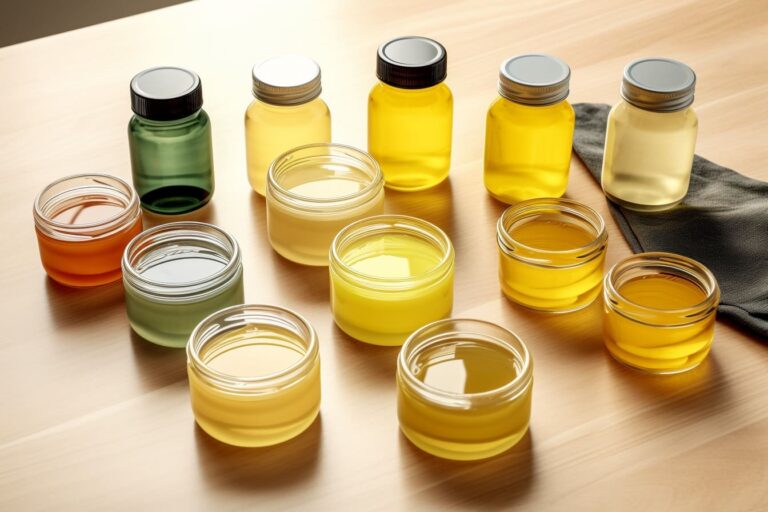
A container, a brush to apply the oil and kitchen paper to remove it. Two small pieces of wood serve as a base. The right oil and wax play an important role. For the first oil application, I recommend mixing the oil used with 5% orange oil, which improves the oil’s ability to penetrate the wood. A sander with 220 (240) and 320 (400) grit sanding discs and some water are also required.
My list:
- Gloves and face mask
- Brush
- Paper kitchen roll
- Jar approx. 300ml (wide enough for the brush)
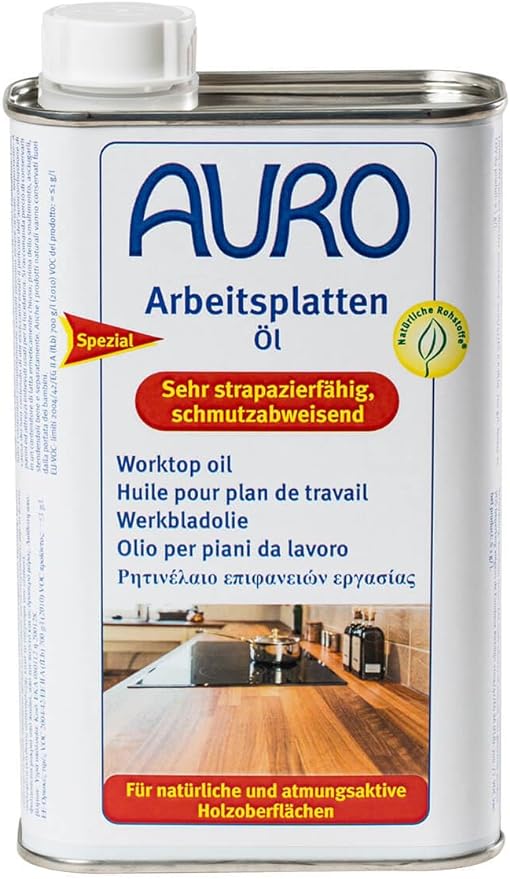
- Natural oil (my choice: AURO Worktop Oil 108 )
- Orange oil (my choice: orange oil)
- Grinder
- Sandpaper
- Water (water sprayer)
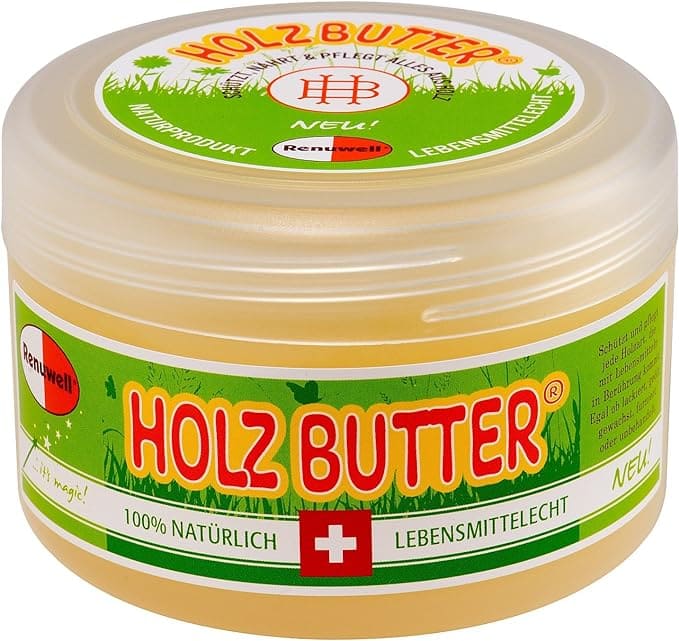
- Wax (my choice: Renuwell wood butter ®)

The oils and waxes I use
The variety of wood oils and waxes can be overwhelming, and choosing the right product can be a challenge. In my wealth of experience, I have tested various oils and waxes and learned about their advantages and disadvantages. My personal favorite is AURO Worktop Oil 108.
Why?
“It offers a balanced compromise between naturalness, food suitability, processing effort and quality after drying. This product is fully declared and I always achieve optimum results with it. Although it is not the cheapest in terms of price and is not available in every specialist store, quality is the top priority here.”
For the final layer of wax, I rely on the Renuwell wood butter ®, a food-safe product with impressive properties.
“The application is effortless and it gives the wood an incomparable shine.”
Of course, the choice of product is entirely up to you. If you discover an even better product, please let me know. I will go into my personal selection below, but if you decide on a different product, I recommend that you familiarize yourself with the corresponding processing instructions.
Nature of the surface of the end grain board
The surface of the end grain board should be free of wood dust before oiling. My preparation process starts with sanding, cleaning and drying the board. I first use grits 80, 120 and 150 with the belt sander before switching to the random orbital sander. Here I start again with 120 grit. After this sanding process, I clean the surface by spraying it lightly with water, wipe it with paper and leave it to dry.
I then continue sanding with 180 grit. This time a short sanding of the surface is sufficient. I remove the wood dust by gently wiping with slightly moistened paper to create a perfectly smooth wooden surface. The end grain board is now perfectly prepared for the oiling process.
Surface treatment process
A. Instructions for applying oil for the first time
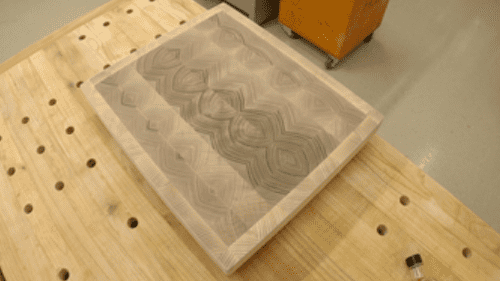
Place the end board on the wooden supports. Mix the oil with 5% orange oil in a container. Use a brush to apply the diluted oil quickly. Be careful not to pour the oil directly onto the board and prevent it from getting under the sides of the board.
Face wood absorbs oil quickly, and delayed distribution can leave stains later.
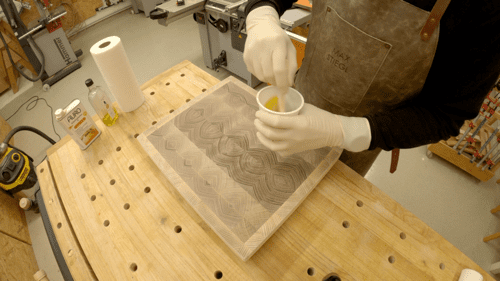
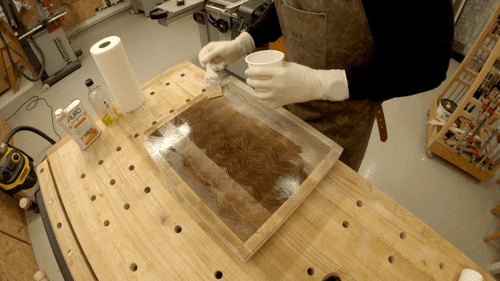
After you have treated the first surface, you may see areas where the oil has already been absorbed. Here you can apply additional oil until the surface appears even (see picture).
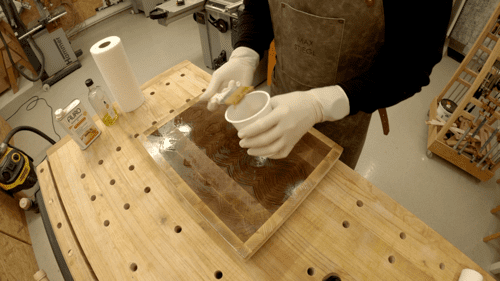
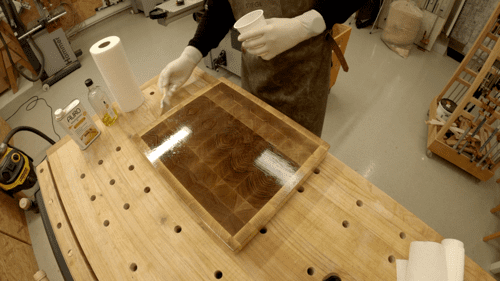
Now turn the board over and repeat the steps. Finally, treat the side surfaces, which require less oil due to the parallel grain direction. Leave the oil on for about 10-20 minutes, depending on the room temperature, and then remove excess oil with kitchen roll paper using a circular motion and light pressure.

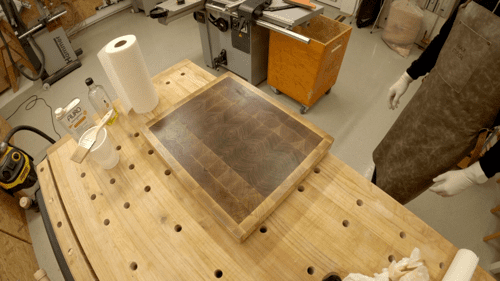
This way you massage the oil into the pores. Once the surface looks even, leave the board in a place at room temperature to dry.
Important! Danger of ignition! Cloths or paper soaked with linseed oil may only be stored in sealed screw-top jars or other non-flammable, airtight containers or spread out to dry in non-flammable places.
B. Drying phase after the first oil application
The embedded wooden board should be dried upright for at least 24 hours in a dust-free place at room temperature. Don’t forget to ventilate from time to time, as the orange oil has a very intense odor, which disappears after drying.
C. Preparation for the second oiling
Sanding the treated surface
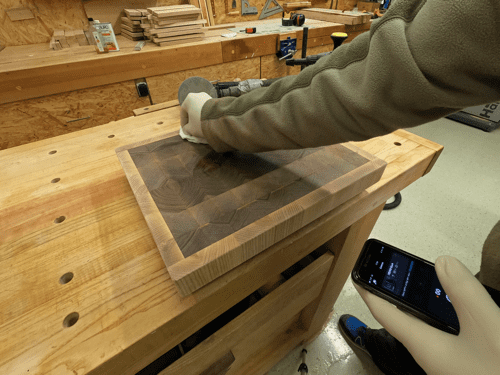
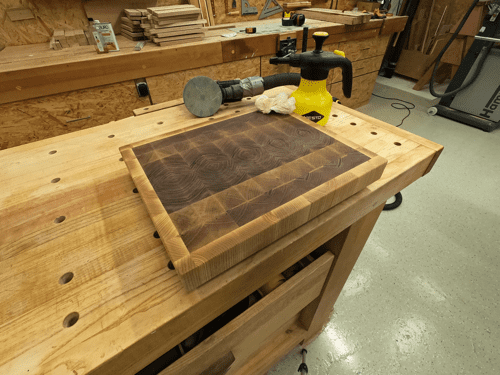
The dried end grain board should feel dry and slightly roughened. It is now sanded to prepare it for the next oil application. This is done with the sander (random orbital sander) and a grain size of 220/240. All sides and curves must be sanded.
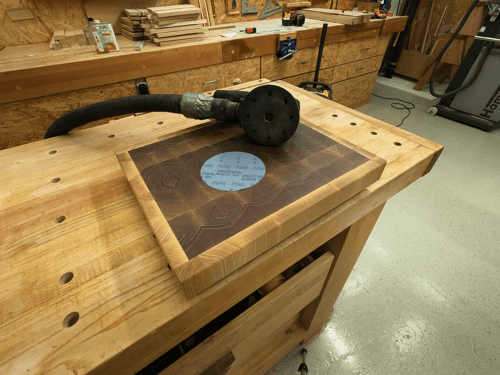
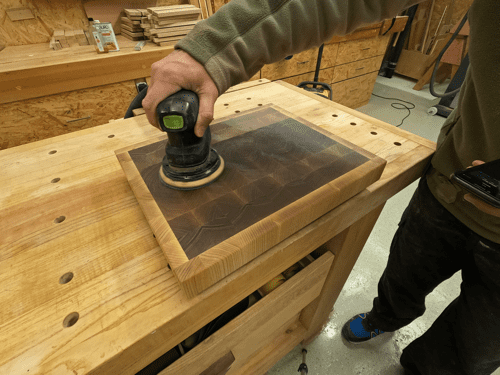
“I admit that the polished board is not very attractive now, but that will change shortly!“
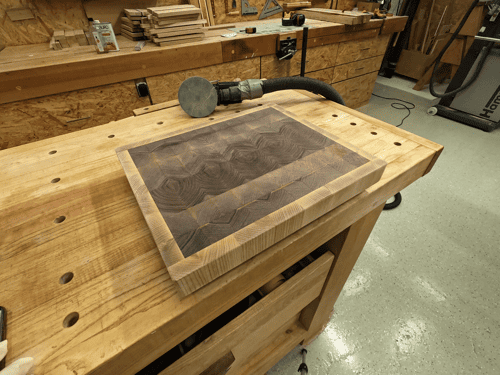
Cleaning the treated surface
Then remove the sanding dust from the sanded board with a slightly damp piece of paper and allow it to dry briefly.
D. Instructions for the second application of oil
Why oil a second time
Due to its pores, face wood has an increased absorption behavior, which can vary over the entire surface(the board consists of many small pieces of wood with different absorption properties).
To ensure uniform protection, a second coat is recommended to even out these differences.
The diluting orange oil is not used when re-oiling the headboard.
The 2nd oil application
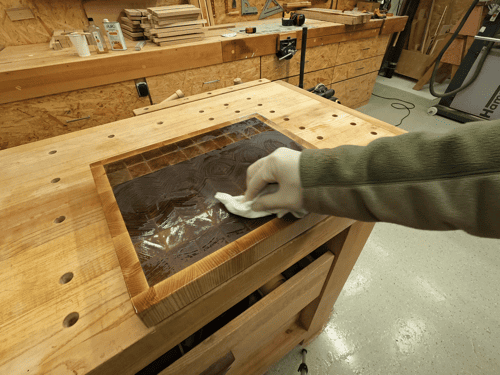
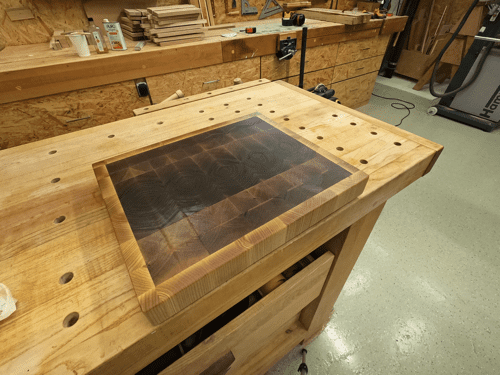
As most of the pores are already closed, the oil consumption is lower than the first time and less oil penetrates the surface. The order remains the same: first the top, then the bottom and finally the sides.
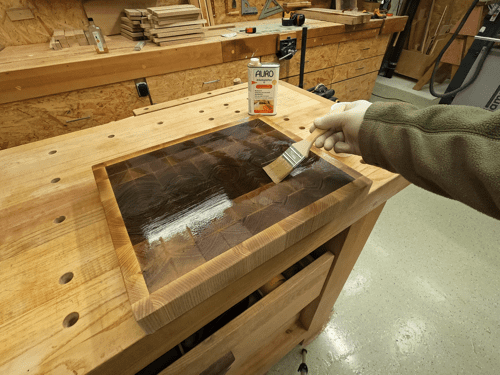
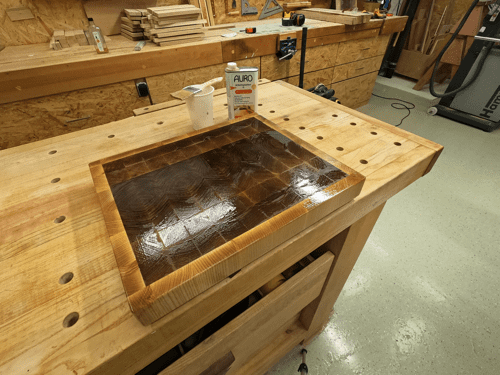
After a contact time of about 10 minutes, remove excess oil with paper, taking care not to leave any wipe marks, as these may remain visible after drying.
E. Drying after the second oil application
As before, see point B.
F. Preparation for wax application
Sanding the treated surface
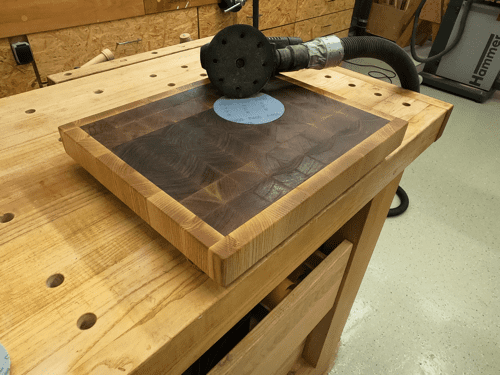
Before applying the wax layer, it is advisable to lightly sand the end grain board again. This results in a perfectly smooth surface, which is characteristic of end grain boards. Use a sander and sanding discs with a grain size of 400. Sand all surfaces and curves as usual.
Cleaning the treated surface
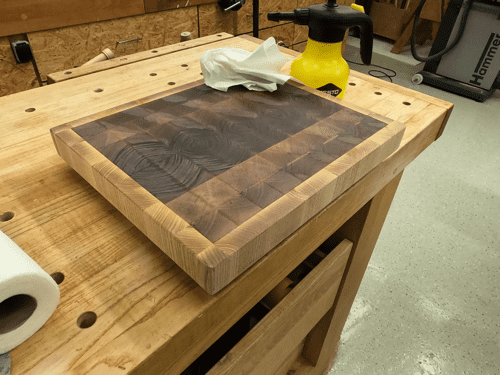
Then remove the sanding dust with a slightly moistened piece of paper and allow it to dry briefly.
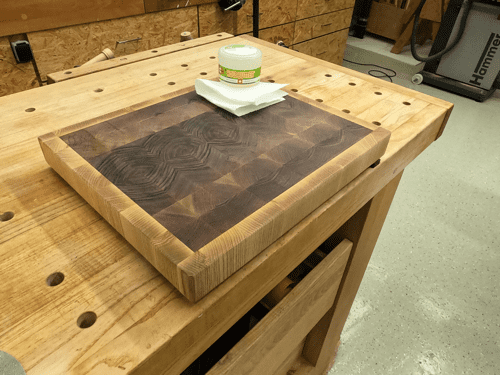
G. Instructions for applying wax
Why is a wax application necessary
The wax is applied as the final layer. It serves as a mechanical buffer layer and gives the board the right shine.
Applying the wax and polishing the surface
The butter I use Renuwell wood butter ® wood butter is very easy to work with. To do this, dip a piece of paper into the wax and apply it to the board as a thin film using circular movements. Do this evenly on all sides.
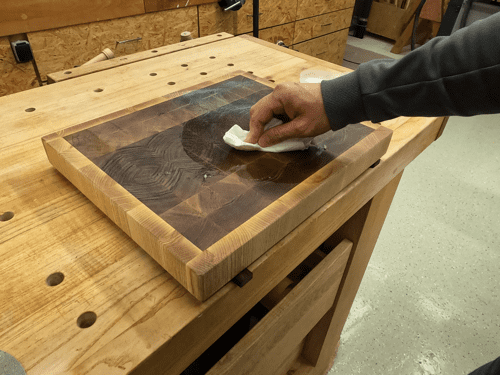
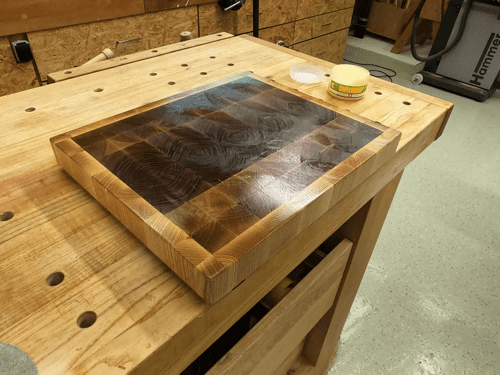
After a contact time of at least 2 hours, polish the surface with a lint-free cotton cloth. Now make the surface shine evenly.
Congratulations, you’re done and can use your headboard! Your board is now sufficiently protected for use, and all with natural and food-safe ingredients. Have fun!
Conclusion
You have now gained an insight into how I optimally prepare my end grain boards for use. The decisive factor for success lies in the selection of the right oil and wax and the correct procedure. Through my repeated use of this process, I can assure you that it works reliably.

